Build an illustrative boarding pass layout for a demonstration, design reference or personal keepsake. Edit the passenger and journey fields and compare the main panel with the tear-off section. This sample is not an airline-issued boarding pass and cannot be used for travel. Use clearly illustrative passenger and booking details when demonstrating the design. Review flight, date, gate, seat and boarding time in every place they appear, then choose the supported download format. Keep the sample purpose visible when printing or sharing, and obtain any valid travel document directly through the airline’s official check-in process. Start with the boarding pass template and sample generator.
The record and the example used here
A boarding pass layout organises passenger and flight information. It differs from a flight invoice, which records booking or payment details. The sample editor does not check in a passenger, reserve a seat or connect to an airline booking system.
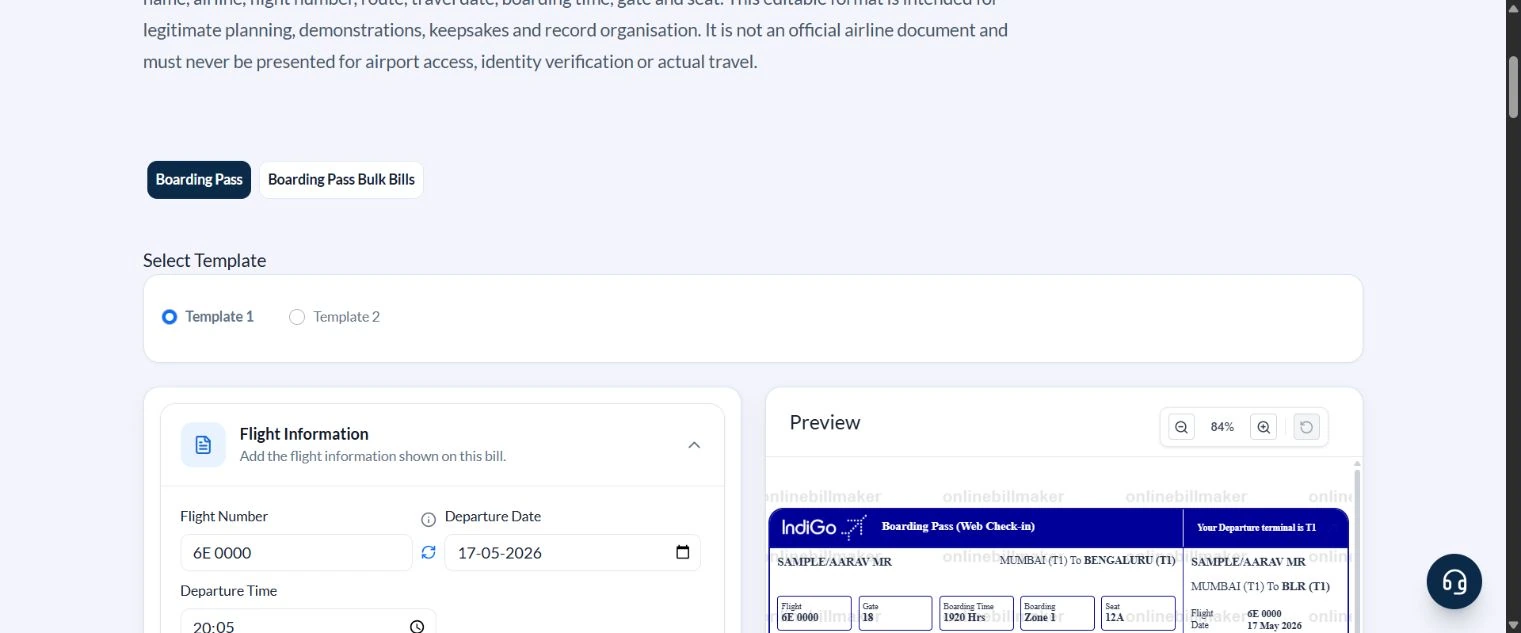
This walkthrough selects Template 1 from the two available layouts. The passenger is SAMPLE/AARAV MR, the flight is 6E 0000 and both booking references are DEMO01. The route is Mumbai to Bengaluru on 17 May 2026. These deliberately illustrative values are used throughout the screenshots.
The main route and shorter tear-off route have separate inputs. A change to From City (Display) does not mean you can skip checking From City (Short). The printed name, flight, date and seat must remain consistent across both panels.
What should a boarding pass sample explain?
A boarding pass sample helps a reader distinguish the flight details from the boarding instructions. In this walkthrough, departure and boarding times are deliberately different, and the seat is repeated on the main panel and stub. A sample of a boarding pass should also make the origin and destination easy to distinguish. All values remain illustrative; copying their appearance does not create a valid travel credential.
Before you start: prepare and reconcile the details
Decide whether the sample is for a design demonstration, a classroom exercise or a personal keepsake. Use invented example data for a public demonstration so the image does not expose someone’s real booking reference. The repeated name, seat and route fields should tell the same story across the main pass and its stub.
Compare boarding and departure times using the same date and local time convention. For an overnight example, make the day transition explicit where the layout supports it. A visually plausible time does not validate a schedule, and an illustrated barcode must not be presented as a working check-in or airport credential.
Fields and sample values
| Field | Purpose | Sample value | When it applies |
|---|---|---|---|
| Flight Number / Departure Date / Departure Time | Identify the flight displayed in the sample. | 6E 0000; 17 May 2026; 20:05 | The editor does not check an airline schedule. |
| Passenger Name | Name displayed on the main panel and stub. | SAMPLE/AARAV MR | Use a clearly illustrative name for demonstrations. |
| Booking Reference / PNR | Text references used by the layout. | DEMO01 in both fields | These are not airline-validated booking records. |
| Seat Number / Boarding Zone | Show the seat and boarding group. | 12A; Zone 1 | Editing a sample does not allocate a seat. |
| Gate Number / Boarding Time | Show where and when boarding is represented. | 18; 19:20 | The preview formats 19:20 as 1920 Hrs. |
| Sequence Number / Services | Additional labels printed by this layout. | 0001; NUSW — Standard | Service labels do not purchase an add-on. |
| From / To City (Display) | Full route on the main panel. | MUMBAI to BENGALURU | Check both departure and arrival terminals. |
| From / To City (Short) | Compact route on the tear-off panel. | MUMBAI to BLR | Edit separately from the main route; both terminals are T1 here. |
Follow the editor step by step
Work through these stages in order. The screenshots show the actual editor running on localhost with illustrative details. Open a screenshot at full size when you need to read a field label; compare the values with your own source record.
1. Choose a boarding pass layout
Open Boarding Pass and choose Template 1 under Select Template. Template 2 has a different arrangement, so select the layout before completing the sample.
2. Enter a clearly illustrative passenger and flight
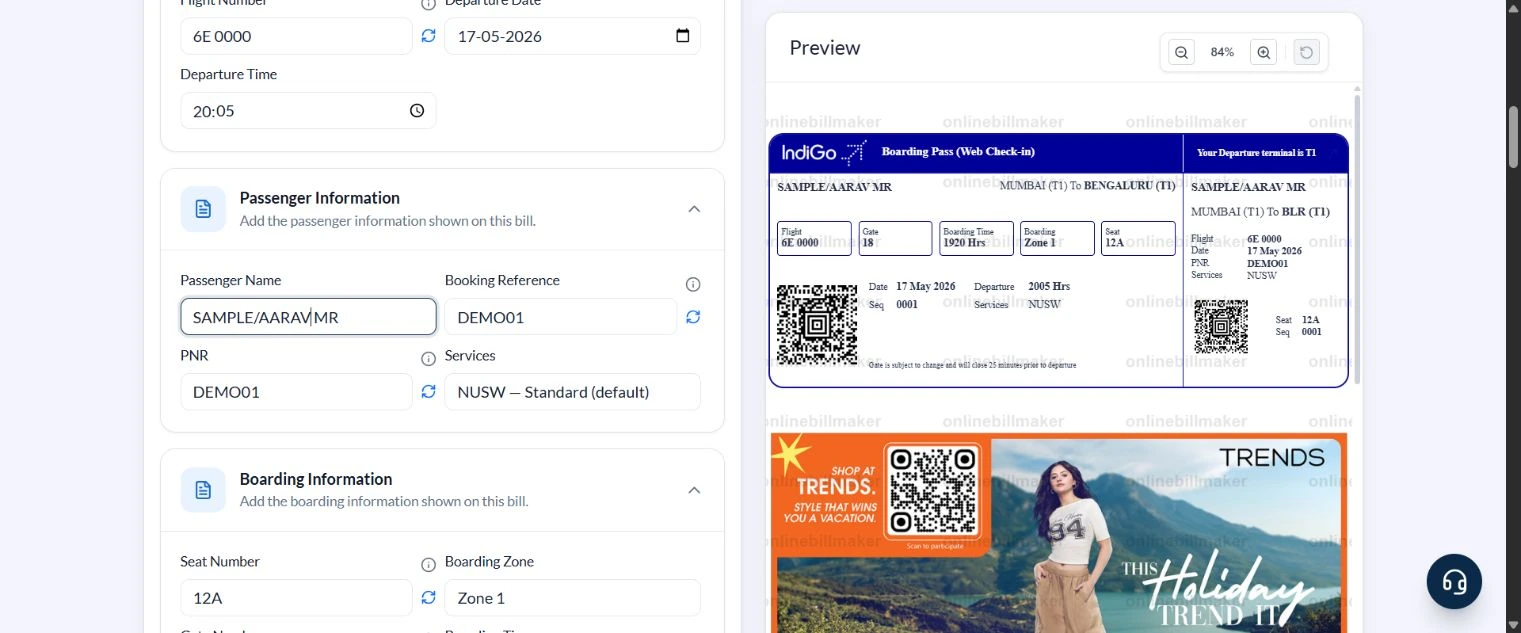
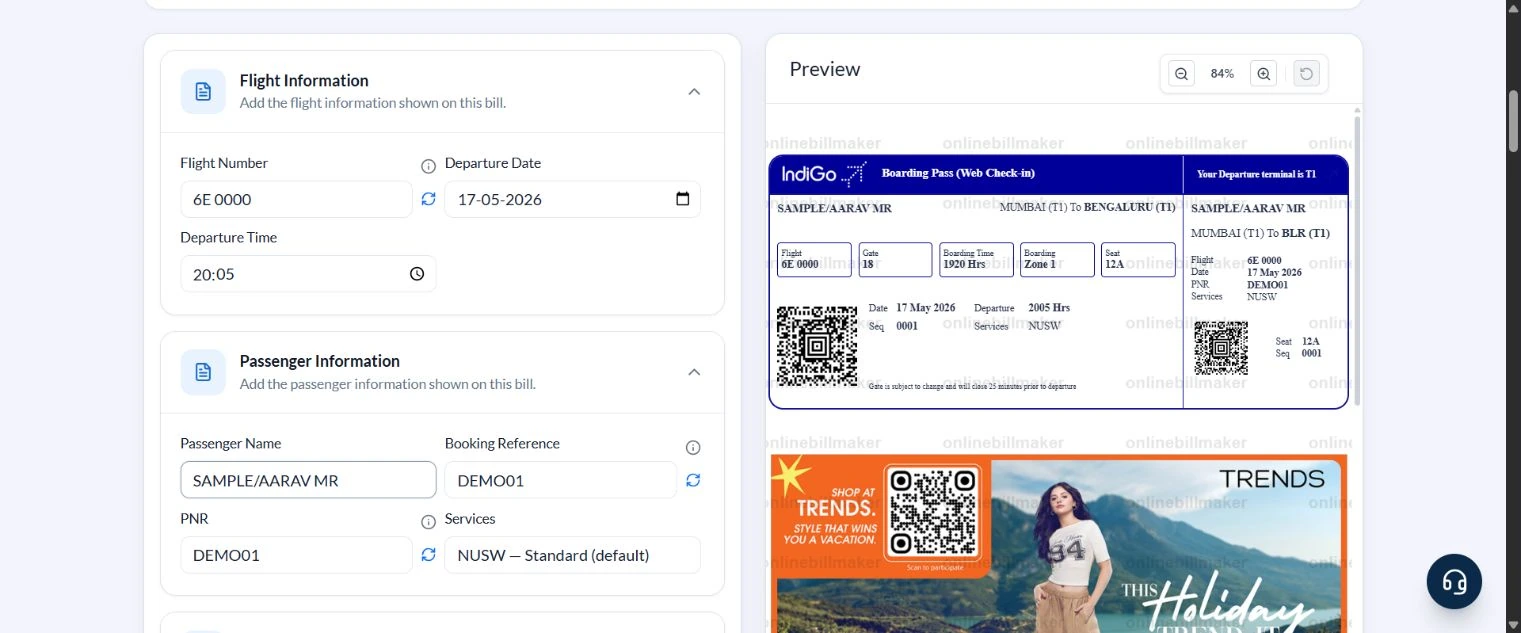
Under Flight Information, enter 6E 0000 and review the departure date and time. Expand Passenger Information, enter SAMPLE/AARAV MR and use DEMO01 for Booking Reference and PNR. Leave Services at NUSW — Standard for this example.
3. Complete boarding and route details
Expand Boarding Information. Set Seat Number to 12A, Gate Number to 18, Boarding Time to 19:20 and Sequence Number to 0001. Under Route Display Information, enter MUMBAI and BENGALURU for the full route and MUMBAI and BLR for the short route. Check all four terminal fields.
4. Compare both panels of the preview
Confirm SAMPLE/AARAV MR, flight 6E 0000, seat 12A and the date on the main pass and its stub. Check that boarding at 19:20 precedes departure at 20:05. A displayed QR code or PNR is visual sample content, not proof of a booking.
5. Review the download controls
The page offers Download PDF and Download Image, with PNG, JPG and WEBP image choices. Downloads require paid access and sign-in. This local walkthrough verified the preview and controls; no downloadable file was produced or inspected. Keep the sample designation visible when sharing or printing.
After downloading: inspect the file before sharing
If you complete an eligible download, open the saved PDF or image and compare it with the preview. Check the first and last lines, long addresses, amounts, dates and any acknowledgement area. Confirm that every intended page is present and readable at the size the recipient will use. Keep the source record and payment evidence with the final file so the document can be reconciled later.
If you spot an error, return to the editor and correct the source field before generating the replacement. Use a clear file name with the document reference and period so an older draft is not accidentally sent as the final copy.
Sample journey: compare the times and repeated fields
| Item | Basis | Result |
|---|---|---|
| Passenger and reference | SAMPLE/AARAV MR; DEMO01 | Same sample throughout |
| Route | MUMBAI (T1) → BENGALURU (T1) | Stub uses BLR |
| Boarding | 17 May 2026 at 19:20 | 1920 Hrs in preview |
| Departure | 17 May 2026 at 20:05 | 45 minutes after sample boarding |
| Seat and sequence | 12A; 0001 | Check both panels |
The 45-minute interval is an arithmetic check on this example, not airline guidance about when a passenger must arrive. Airport deadlines, terminals and gates for real travel must come from the issuing airline.
How do you avoid mismatched sample details?
Start a blank boarding pass template by entering the passenger and flight, then complete the boarding area. Check the boarding pass name format in both printed positions and compare the gate, zone and seat with the intended example. A boarding pass barcode format is not something this editor validates. Never interpret a visible code, booking reference or flight number as proof that an airline has accepted the record.
How do you review an editable demonstration?
When you create your own boarding pass sample, compare both panels after every layout change. An editable boarding pass design should preserve readable names, dates and route labels at the size it will be shown. Keep the demonstration purpose clear when the image is reused in a slide or document. The editor cannot replace airline check-in, and a downloaded sample remains unsuitable for boarding or airport entry.
Troubleshooting and final checks
- Changing only the full route leaves the tear-off panel inconsistent; review both sets of city and terminal inputs.
- Do not confuse Boarding Time with Departure Time. Compare the date as well when a journey crosses midnight.
- Avoid using automatic reference buttons as if they retrieved a booking. They only populate the editable sample.
- Before printing, inspect the whole selected layout for clipping and repeated fields. Preview zoom changes the screen view, not the validity of the document.
Editing and previewing are free. Downloads require sign-in and either an active plan or enough purchased credits: 5 credits for a PDF and 1 credit for an image. There are no free download credits. Free users see the platform watermark in the preview. Signed-in users with a credit balance or an active plan can choose a download format and preview without the watermark. Compare download credits and plans.
Independent demonstration layouts are not affiliated with or endorsed by an airline. This sample must not be used for airport entry, identity verification or actual travel.